
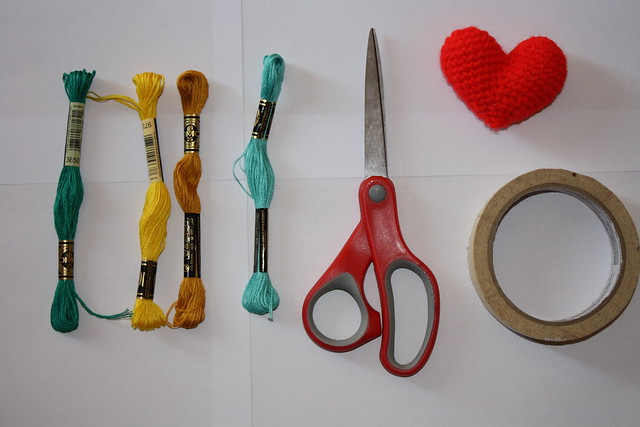
Materials:
• 4 colors of embroidery thread
• Heavy duty tape
• Scissors
• A thigh
• A friend
• Love
Step 1: Get your booty over to Diggs (310 Division Street) and choose your threads. Embroidery floss can be found downstairs.
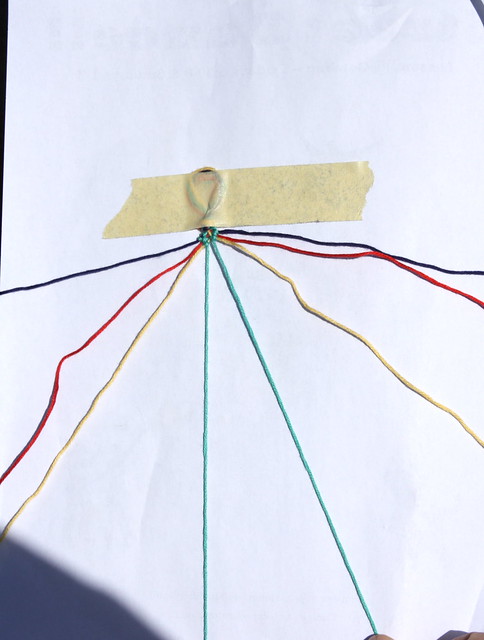
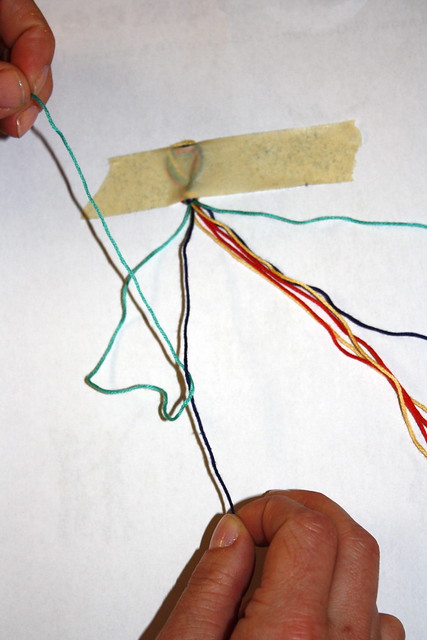
Step 2: Select four colors and cut your embroidery floss the rough length of your wingspan (roughly 2 yards). Then, take your four strings and fold them in half. Tie a knot at the top and tape the strings to your thigh.
Step 3: Arrange your strings so that the first color is on the far left and far right, the second color is inside both of those and so on until your fourth color is next to itself in the center.
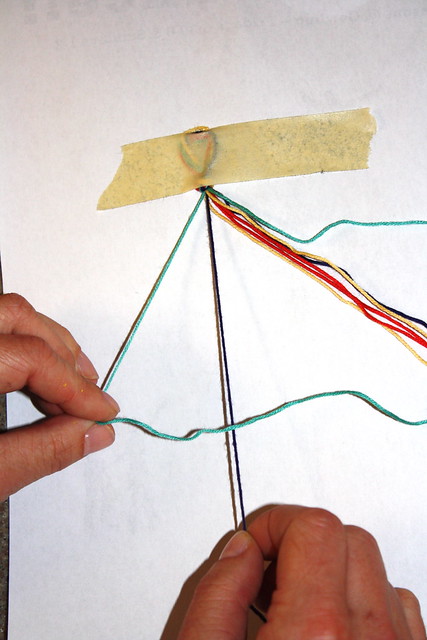
Step 4: It’s knot time. Take your first string on the left and make a fancy four with the string to its right. Make sure the first string is on top of the second. Reach through the triangle you’ve created and grab the tail of your first string. Pull it through until the knot is tight making sure the second string remains taut. Repeat this process with the same two strings.
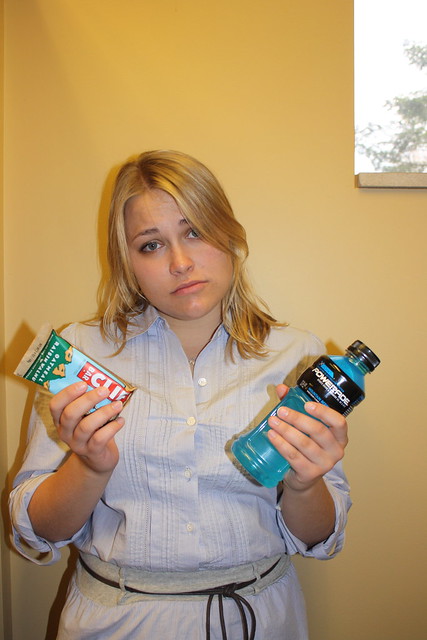
Step 5: We know this can be extremely strenuous. If you feel that your focus is fading, you may want to take some steps to replenish those lost electrolytes. We suggest downing a Powerade and eating a cliff bar. Hopefully after these measures, you are ready to continue.
Step 6: Now, take the far right string and make a backwards fancy four with the string to its left. Just as before, pull the tail end through. Do this twice to complete one knot. Continue with the knots until the string is next to its same-colored partner at the center.
Step 7: Make a knot with the two same colored friends (it doesn’t matter if you use the forward or backward fancy four.)
Step 8: Victory dance! You’ve completed your first row.
Step 9: Continue to repeat steps 4-6.
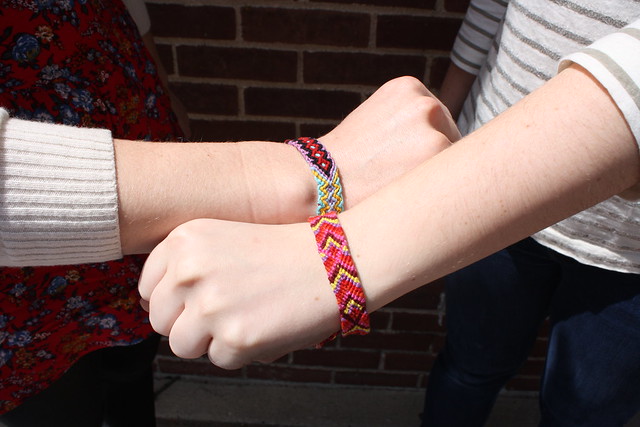
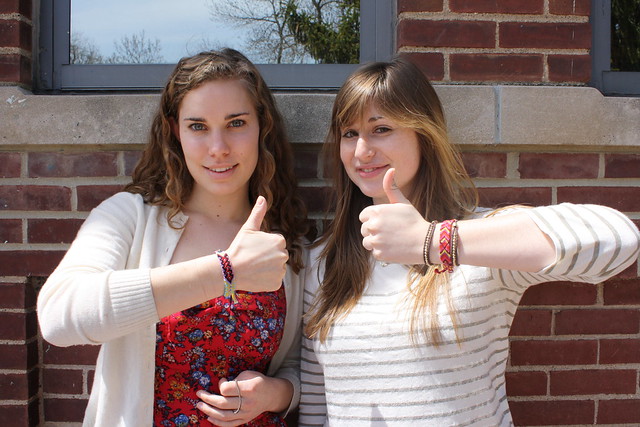
Step 10: When your work is long enough to be a bracelet or you’ve given up all hope, find your bestie and tie it on their wrist.
**if you have no friends and lack artistic inclination, fear not. Friendship bracelets can be purchased at www.urbanoutfitters.com
XOXO
Morgan and Zoe
No comments:
Post a Comment